
Media walls in Glasgow
Media walls in GlasgowBuilt, boardedand skimmed flat
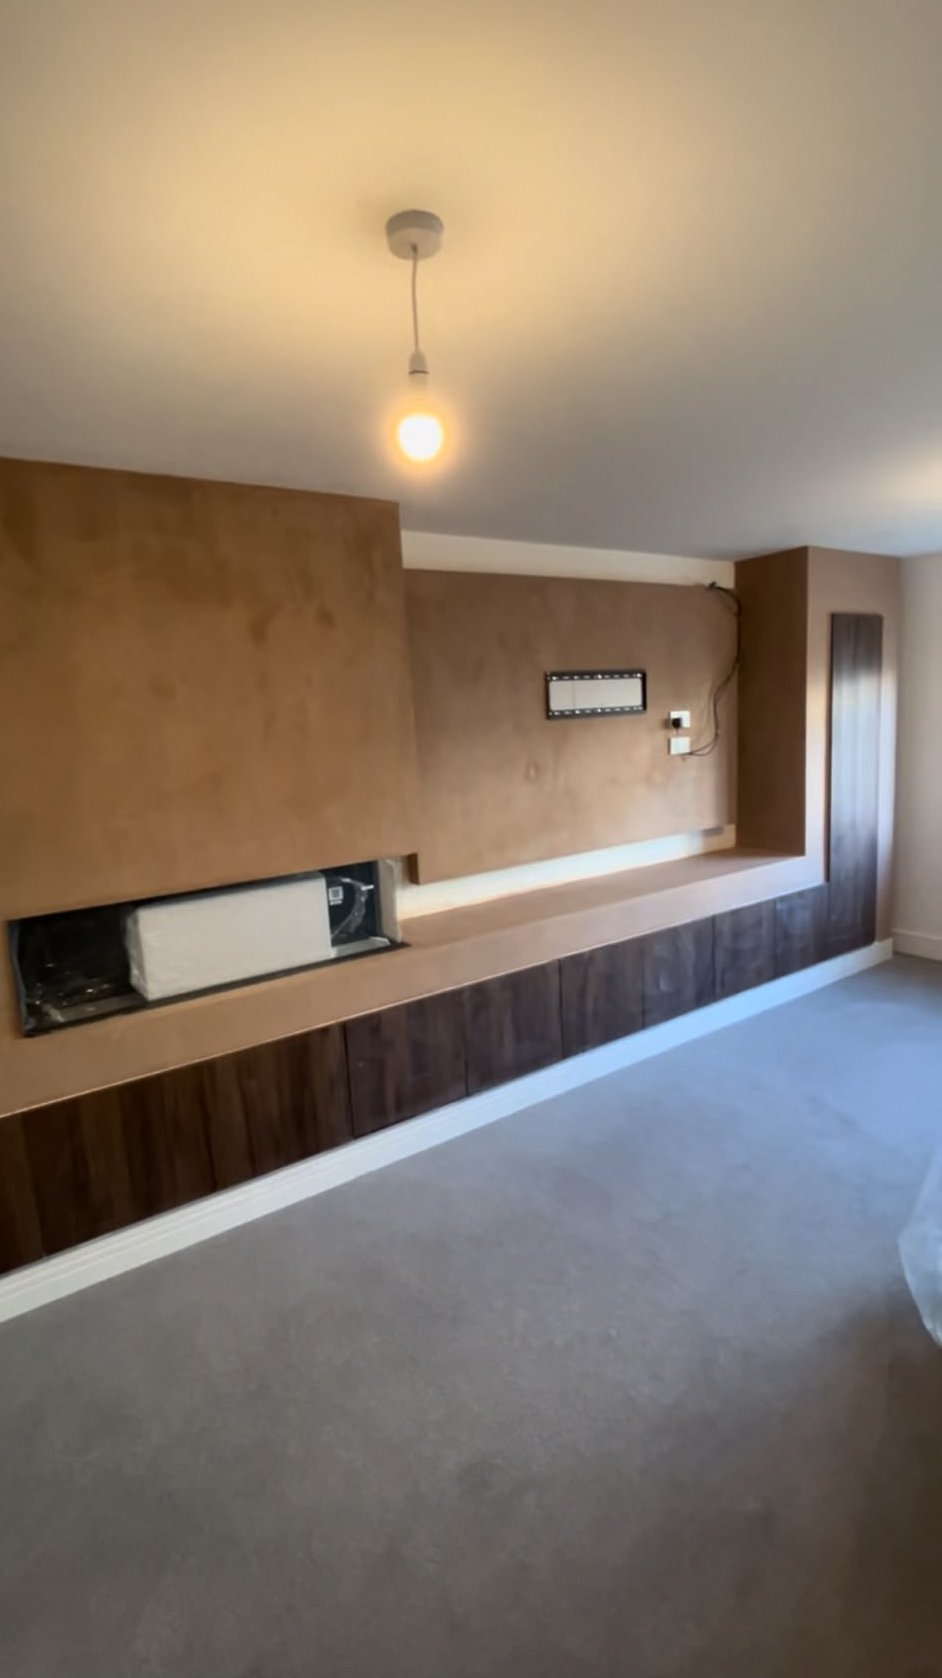
A stud framed feature wall with the television, soundbar and fire recessed into it, finished flat and sharp so the openings look built in rather than added on.
5-star rated on MyBuilder (124 reviews)Free quotes, usually same day
22 years
On the trowel, time-served
5★ · 124
Verified MyBuilder reviews
£1 million
Public liability cover
1–2 years
Workmanship guarantee
Same day
Free quote turnaround
Service Overview
What a media wall involves
A media wall is a new stud wall built in front of the existing one, deep enough to swallow a television, a soundbar shelf and an inset electric fire, with all the cabling hidden inside it. Once the frame is up and boarded, the whole face is skimmed flat so the recesses read as clean rectangular openings with crisp arrises rather than boxes stuck on a wall.
Most of the quality is decided at the framing stage. The openings have to be square, level with each other and set at the right height for the room, the fire aperture has to match the manufacturer's cut-out exactly, and the frame has to be strong enough to hold a large screen without any flex behind it.
The plastering side is what makes it look like part of the house. Every external corner is beaded, every internal angle is run straight, and the finish coat is troweled flat across the full face so nothing telegraphs under downlights or the fire's own glow, which is unforgiving light to plaster in.
Ryan builds and finishes media walls personally on domestic properties across Glasgow and the surrounding towns, working alongside your electrician for the sockets, HDMI runs and fire supply.
Who it is for
- Homeowners wanting a fitted television and fire wall in a lounge
- Anyone tired of visible cables, brackets and a freestanding stand
- People remodelling a living room, snug or open plan space
- Landlords and developers finishing a property to a higher spec
When it is needed
- You want the television and fire recessed rather than hung on the face
- Cables and a soundbar need hiding without chasing the original wall
- An old chimney breast or alcove layout is being reworked
- A new electric fire needs a properly sized, square aperture
- The room is being decorated and now is the time to do it once
The Cost Of Waiting
Where media walls go wrong
The most common failure is a frame that was never set out properly. Openings that are a few millimetres out of square, or a television recess that sits off centre against the fire below it, cannot be corrected with plaster. You see it every time you walk into the room, because the eye reads those lines against the ceiling and the skirting.
The second is heat and clearance. Inset electric fires have stated clearances around and above the aperture, and boarding tight to them, or running plaster into the opening, causes discolouring and cracking along the top edge. The aperture has to be formed to the manufacturer's dimensions, not to whatever the boards happened to leave.
The third is the finish itself. A media wall is lit from the side by downlights and from below by the fire, which is the harshest possible light on a flat surface. Board joints that were not scrimmed, corners without bead, and a face that was floated rather than properly troweled all show up the moment the lights go on.
Common mistakes that make it worse
Framing before the appliances are known
The fire, screen and soundbar dimensions decide the openings. Building first and measuring later leaves gaps that have to be fudged.
Understrength framing behind the screen
A large television needs solid noggins where the bracket lands, not board and hope. Any flex behind the plate shows as movement on the wall.
Ignoring the fire's clearances
Plaster run tight into a heated aperture discolours and cracks. The opening is formed to the manufacturer's cut-out with the stated clearances kept.
No conduit for future cables
Sealing the wall with only today's cables in it means opening it up again later. Spare conduit costs almost nothing at the framing stage.
Skipping bead on the recesses
Every external corner on the openings needs bead. Without it the arrises chip the first time something knocks them.
Our Process
Five steps from first callto a guaranteed finish
- 01
Step 1 – Measure and plan
Ryan takes the room, your television, soundbar and fire dimensions and the position of existing sockets, then sets out the wall depth, opening sizes and heights with you before anything is built.
- 02
Step 2 – Quote
A fixed price on a straightforward single wall, or a day rate where the job forms part of a wider room refit. Free, no obligation and usually turned around the same day.
- 03
Step 3 – Framing and first fix
The stud frame is built and fixed back to the structure, with noggins where the bracket lands and the apertures formed square and level. Your electrician runs the supply, sockets and cabling inside the void, and spare conduit is left in.
- 04
Step 4 – Boarding
Plasterboard is fixed with staggered joints, cut tight around every opening, and beaded on all external corners. Moisture resistant board is used where the room calls for it.
- 05
Step 5 – Skimming and finish
Joints are scrimmed, the full face is skimmed in coats and troweled flat, and the recesses are finished with sharp, straight arrises. The room is swept out and left ready to decorate once the plaster has dried.
What You Get
The difference it makes,stated plainly
Openings that line up
Screen, soundbar and fire set out together, square and centred, so the wall reads as one piece of joinery rather than three separate holes.
Every cable out of sight
Power, aerial and HDMI runs live inside the void, with spare conduit left in for whatever you add later.
A finish that survives downlights
Beaded corners and a properly troweled face, so nothing telegraphs when the lights and the fire are on.
One tradesman on the build and the finish
The same person frames it, boards it and skims it, so the plaster is not left correcting somebody else's setting out.
Built to your appliances
Apertures formed to the manufacturer's cut-out sizes and clearances, not to a standard guess.
Backed by the guarantee
£1 million public liability cover and a 1–2 year workmanship guarantee on the plastering.
In Detail
Media wall detail, materials and variations
Depth is the first decision. A wall built at 100mm takes most screens and soundbars comfortably; where a deeper inset fire is going in, or where the existing wall is uneven and needs building out, the frame goes deeper still. Losing 100mm to 150mm from the room sounds like a lot on paper and is almost never noticed once the wall is finished and decorated.
The second decision is what the wall returns into. Where it runs the full width between two side walls, the finished face is a single clean plane and the edges are simple. Where it stops short, the return has to be beaded and skimmed as a proper external corner, and that edge is what people run their hand along, so it gets the same attention as the face.
Lighting and niches are worth planning at the same time. Downlights washing down the wall, a lit recess for ornaments, or a shadow gap along the top all have to be framed in before boarding. Adding them afterwards means opening a wall that has just been finished.
Materials used
Timber or metal stud frame
Fixed back to the existing structure, with noggins positioned where the television bracket and any shelving land.
12.5mm plasterboard
The standard board for the face and returns, cut tight around each opening.
Moisture resistant board
Used where the room carries more humidity, such as an open plan kitchen and living space.
Angle and stop bead
Fitted to every external corner and opening edge so the arrises stay sharp and resist knocks.
Scrim tape and jointing compound
Applied to every joint and internal angle before the finish coat to stop cracking along the seams.
Multi-finish plaster
Applied in coats and troweled flat for a matt, paint-ready face that holds up under directional light.
Variations of the work
Television and fire wall
The standard arrangement: a recessed screen, a soundbar shelf beneath it and an inset electric fire lower down.
Screen only
A simpler build with a single recess and hidden cabling, where no fire is being fitted.
Media wall with side alcoves
Recessed shelving formed either side of the central opening, boarded and skimmed as part of the same face.
Chimney breast conversion
An existing breast built out and squared up so the openings sit centrally in the finished wall.
Full wall with concealed lighting
Shadow gaps and lit recesses framed in before boarding, then finished flush with the face.
Where this work typically applies
- Lounges in Glasgow semis where the television currently sits on a stand
- Open plan kitchen and living spaces in newer estate homes
- Tenement living rooms where an old chimney breast is being reworked
- Rooms being redecorated where the cabling is being tidied at the same time
- Flats being finished to a higher spec before a let or a sale
Domestic work is the priority: single rooms through to full house and flat refurbishments. Larger commercial contracts are not the focus, so your job is not queued behind a site.
Questions, Answered Straight
Media Walls in Glasgow- the things people ask
How much room does a media wall take up?
Usually between 100mm and 150mm of floor depth, depending on the fire and how uneven the existing wall is. In a normal living room it is not something you notice once it is decorated.
Do you fit the television and the fire as well?
The wall is built, boarded and skimmed with the correct apertures and fixings in place, ready for the appliances. Electrical connection is carried out by your electrician, and the screen and fire are fitted into openings sized to their specifications.
Can the cables be hidden?
Yes, that is one of the main reasons people have one built. Power, aerial and HDMI runs sit inside the void, and spare conduit is left in so you can add to it later without opening the wall.
Will a large television be safe on it?
Yes, provided the frame is built for it. Noggins go in where the bracket lands so the fixings go into timber, not just into board.
Can you build one over an existing chimney breast?
Usually yes. The breast is built out and squared up so the finished wall is a single flat plane with the openings set centrally.
How long does a media wall take?
Most single walls are framed, boarded and skimmed over roughly three to four days, plus drying time before decoration. Electrical first fix happens in between, so the timing is agreed with your electrician.
How much does it cost?
It depends on the size of the wall, the depth of the build and how many recesses are involved. Smaller jobs are priced as a fixed price and larger projects on a day rate. There are no 'from' prices, because no two walls are the same.
Is the work guaranteed?
The plastering carries a 1–2 year workmanship guarantee covering adhesion, blistering, debonding and plaster coming away. Structural movement, settlement cracking, shrinkage and occupancy damp are not covered.
Which areas do you cover?
Glasgow and the surrounding towns including Paisley, Rutherglen, Bearsden, Clydebank, Bishopbriggs, Cambuslang, Renfrew and Newton Mearns.
Related Work
Often done at the same time
Dry Lining & Dot and Dab
Straight, warm, sound-deadened walls built over what you already have: the quickest way to turn a cold, uneven or unusable surface into a room-ready wall without wet-trade drying times.
See this service →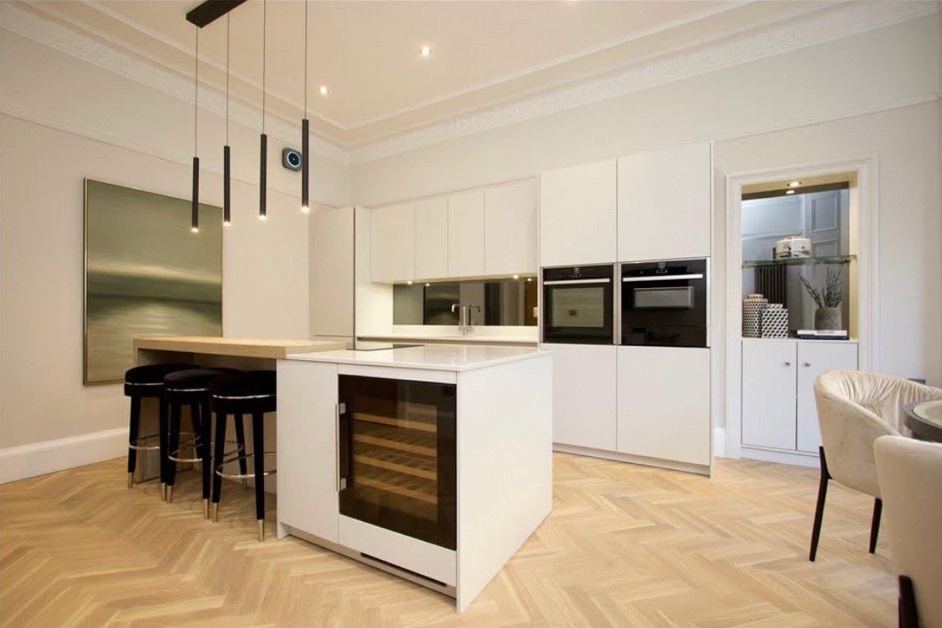
Plastering
Rooms handed back straight, smooth and ready for paint, without weeks of disruption, without dust through the whole house, and without chasing a tradesman who stopped answering.
See this service →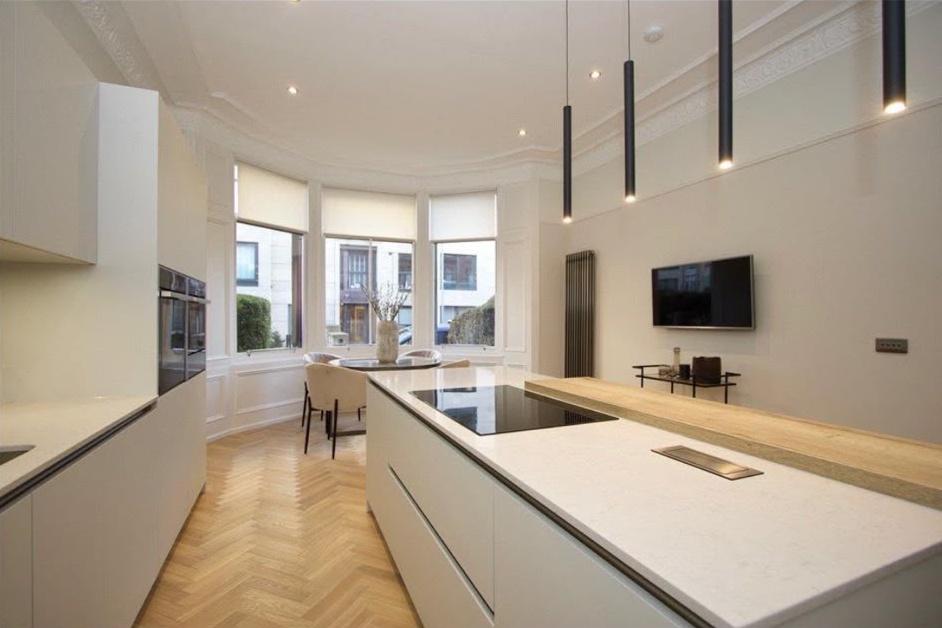
Skimming & Re-Skimming
A thin coat of finish plaster over what you already have: the fastest, least disruptive way to turn a patched, rippled or artexed surface into a wall that looks like it was built yesterday.
See this service →
Media Walls across the west of Scotland
Covering Glasgow, Paisley, Rutherglen, Bearsden, Clydebank, Bishopbriggs, Cambuslang, Renfrew, Newton Mearns and the surrounding towns. You can also see recent work, read the customer reviews, find out more about Ryan or head back to the homepage.
The Guarantee
What the 1–2 year workmanship guarantee actually covers
Every job carries £1 million public liability cover and a written 1–2 year workmanship guarantee. The terms are set out plainly below, so you know exactly where you stand before any work starts.
Covered
- Adhesion issues, where the plaster fails to bond as it should
- Blistering in the finished surface
- Debonding, commonly called blown plaster
- Plaster coming away from the wall
Not covered
- Structural movement in the building
- Cosmetic settlement cracking
- Shrinkage
- Damp or moisture caused by occupancy, such as a lack of ventilation or drying washing indoors
- Overboarding onto an existing unstable ceiling, which cannot be guaranteed because of the risk of movement behind the new boards
Next Step
Get your media wallbuilt and finished properly
Free quote, usually the same day, with the openings set out around your actual television and fire. £1 million public liability cover and a 1–2 year workmanship guarantee.
- 22 years on the trowel, 10 self-employed
- 5-star rated on MyBuilder across 124 reviews
- £1 million public liability cover
- 1–2 year workmanship guarantee on workmanship
Request Your Free Quote
Free, no-obligation quotes, usually turned around the same day.
No obligation. No pressure. Straight answer on price and timings.